
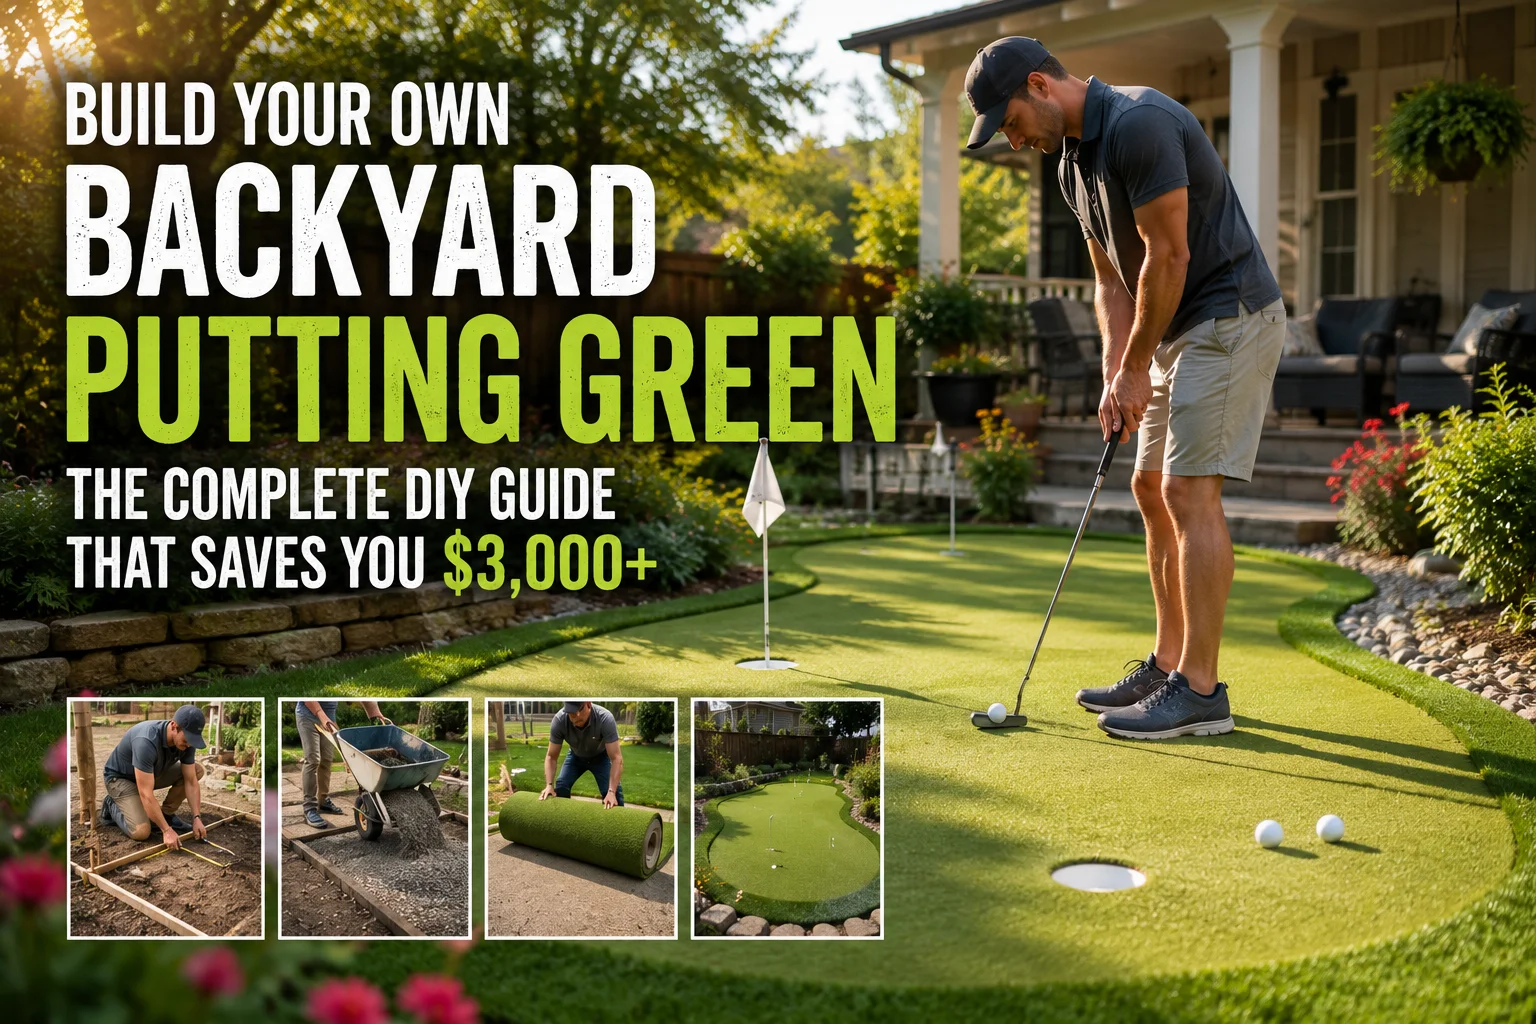
Imagine the joy of stepping outside to your personal putting green, crafted with your own hands. It’s more than savings—it’s about creating a space that reflects your passion and improves your game. This guide empowers you to build confidently, saving over $3,000 while making memories.
Unlocking the Joy of a DIY Backyard Putting Green
Building a DIY backyard putting green is all about combining your love for golf with the satisfaction of a hands-on project. With a little effort, you can transform your outdoor space into your very own practice haven—no need to book tee times or drive to the club for a quick roll.
The idea isn’t just about improving your short game (though that happens), but about enjoying your backyard in an entirely new way, while saving seriously compared to professional installation.
Let’s put this into perspective: professional putting green installation often runs past $4,000 for even small greens, but with the right know-how, you can create a beautiful, high-performance green for a fraction of that cost. Whether you’re dreaming of a simple 6-foot roll for quick putting drills or a complex, multi-hole layout designed for serious golfers, you’re in the right place.
This fun, peer-led guide will walk you through the step-by-step process, highlight common pitfalls, and share real DIY stories (and a few laughs) along the way.
-
What You’ll Learn About Building Your Own DIY Backyard Putting Green:
Step-by-step process for a diy backyard putting green
Comparison: green kit vs. diy backyard putting green
Natural grass vs. artificial turf for putting greens
Expert insights, practical tips, and real DIY stories
Why a DIY Backyard Putting Green? (And How You Save $3,000+)
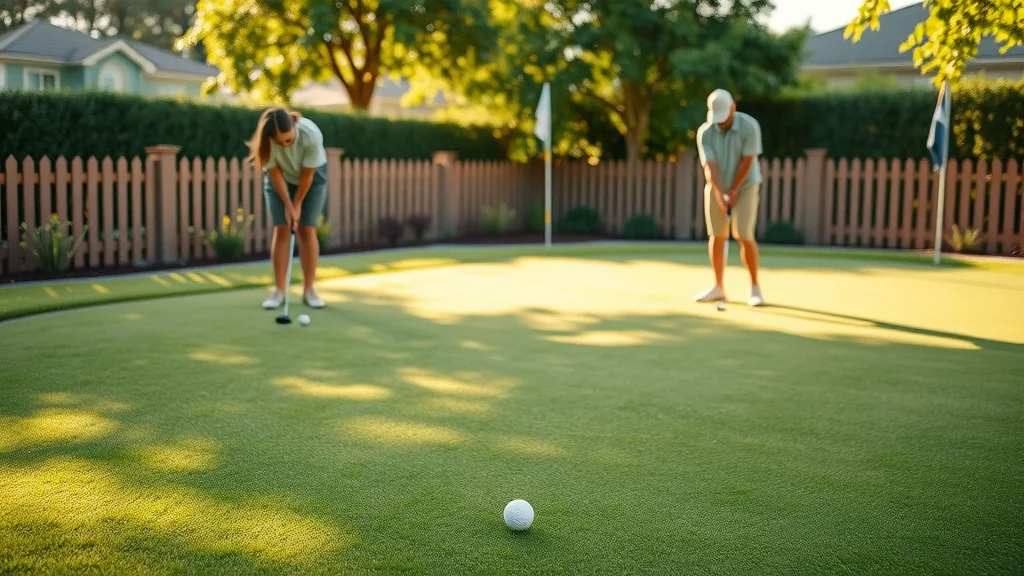
Let’s cut right to it: building your own backyard putting green means major savings—usually over $3,000—versus hiring out a full professional installation. That’s extra cash for new clubs, fun backyard upgrades, or maybe even a celebratory BBQ once your green’s complete. But the financial angle is only half the story.
Going DIY turns the process into an adventure you’ll actually remember (and brag about). You get full control over design and choice of materials—think backyard greens that perfectly fit your yard, reflect your style, and match your golf goals.
Instead of one-size-fits-all, you tweak every detail, from the slope of your putting surface to the green kit flag colors. And when the job’s done? You’re rewarded every time you roll a putt with friends, family, or even just the dog.
“Installing my own backyard putting green was the best weekend project—I play more and saved a fortune over professional installation!” — Brad, Weekend Golfer
Essential Tools and Materials for Your DIY Backyard Putting Green
The foundation for any quality putting surface is having the right tools and supplies. Depending on whether you go the full DIY route or opt for a putting green kit, here’s what’s usually in the mix:
Putting green kits vs. buying separate materials
Artificial turf options for backyard putting greens
Drainage gravel, cups, flags, and more
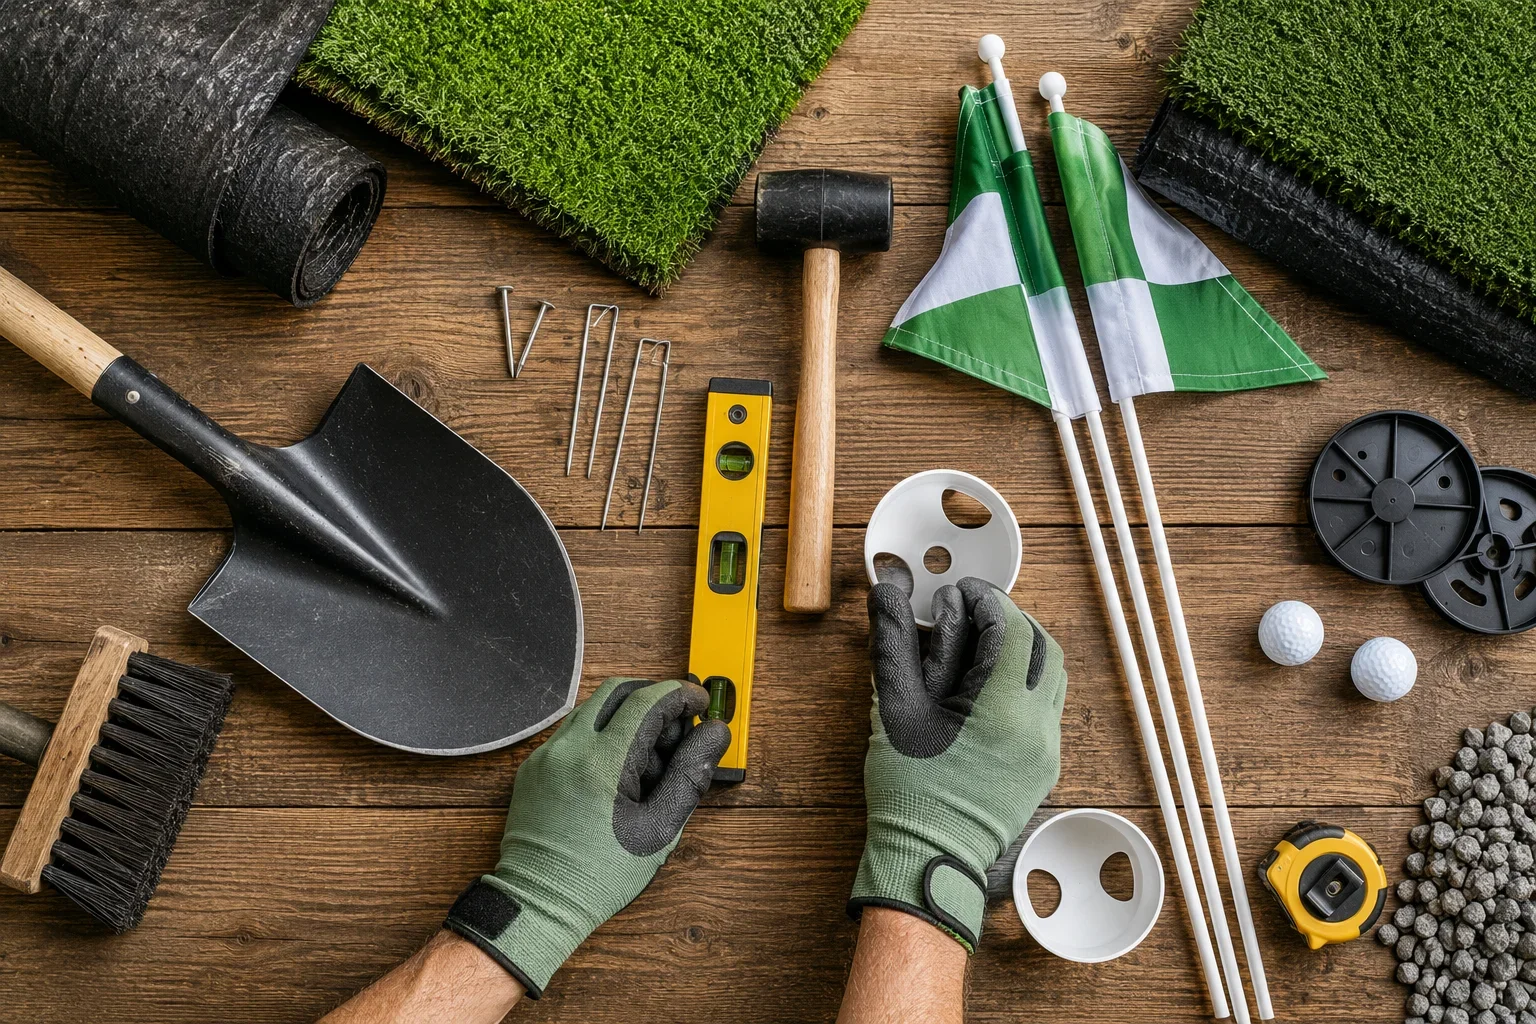
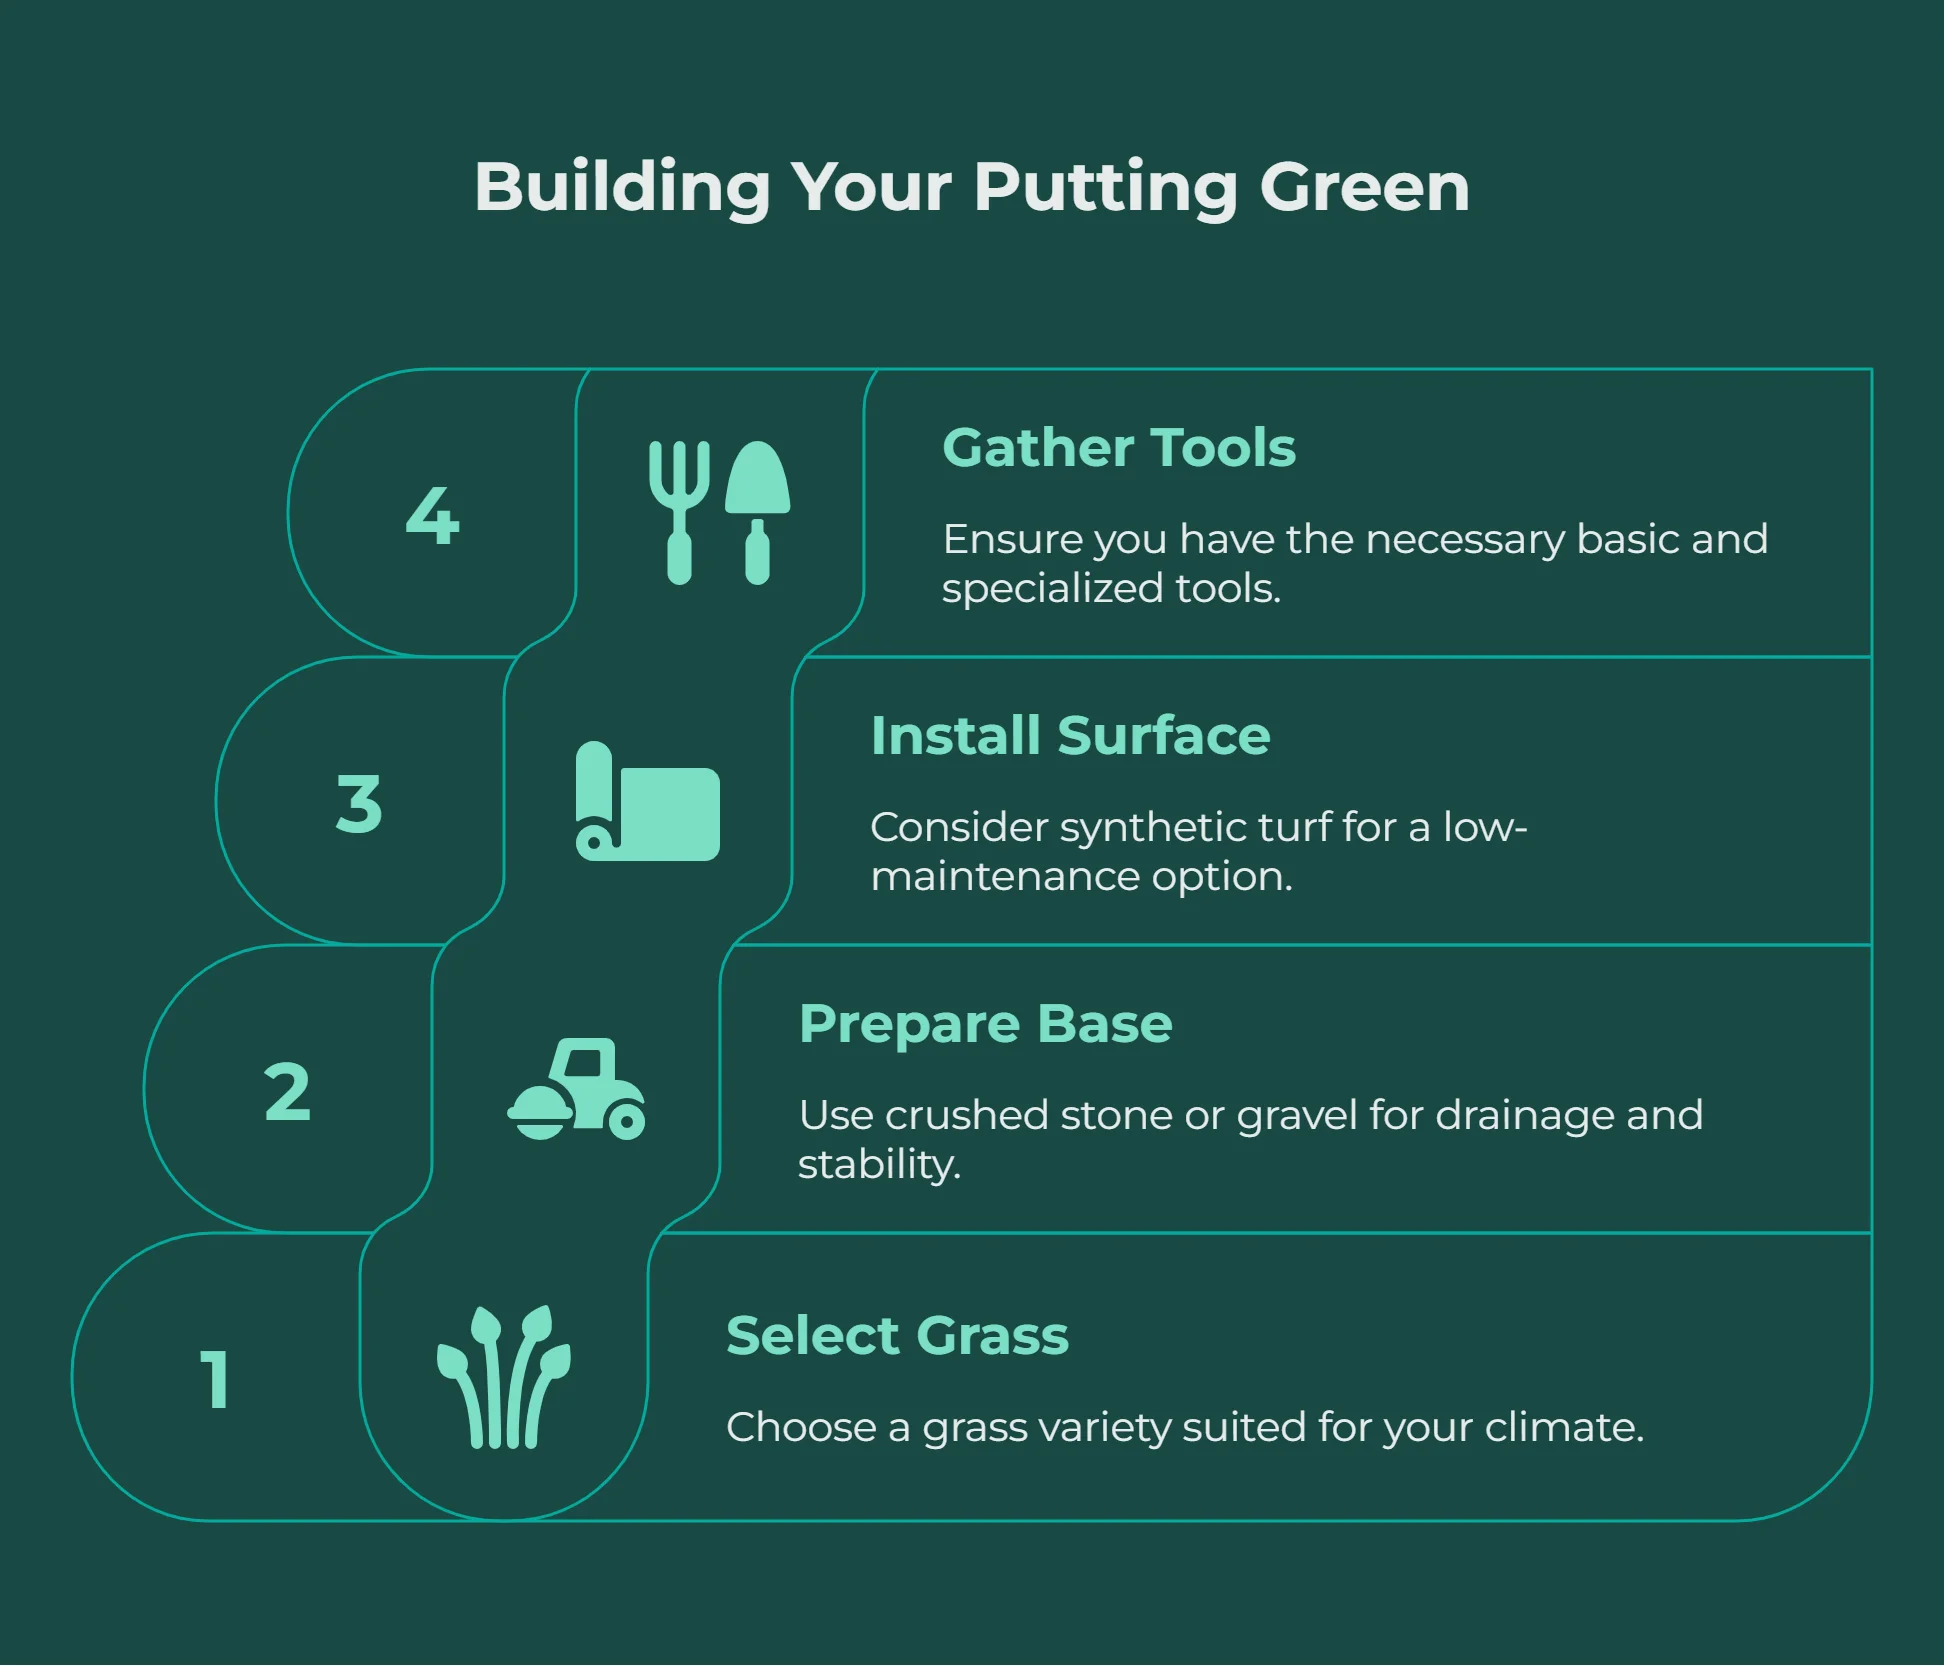
A basic shopping list for a DIY backyard project usually includes a shovel, rake, sturdy trowel, heavy-duty scissors or razor knife (for shaping turf), landscaping fabric, a tamper for packing the soil, leveling boards, and a garden hose for testing drainage. For turf-based greens, you’ll also need a quality putting green kit with artificial turf, infill sand, and hole cups (plus decorative flags if you’re feeling fancy).
Don’t ignore drainage—nothing ruins a green faster than pooled rainwater. Consider drainage gravel and plan the base so water flows away from the surface. Even if you’re picking up a green kit for ease, it’s smart to have some basic tools handy, since most kits require minor landscaping.
Advice: keep gloves and a spirit level close—you’ll thank yourself when you’re shaping those all-important slopes.
If you’re concerned about soggy spots or water pooling in your yard, it’s worth exploring low-cost drainage solutions for wet backyards before you start your putting green project. Addressing drainage early can save you time and ensure your green stays playable year-round.
Planning Your Backyard Putting Green: Design Tips and Pitfalls
Choosing the best location in your yard
Measuring space for your diy backyard putting green
Design inspiration: single vs. multi-hole layouts
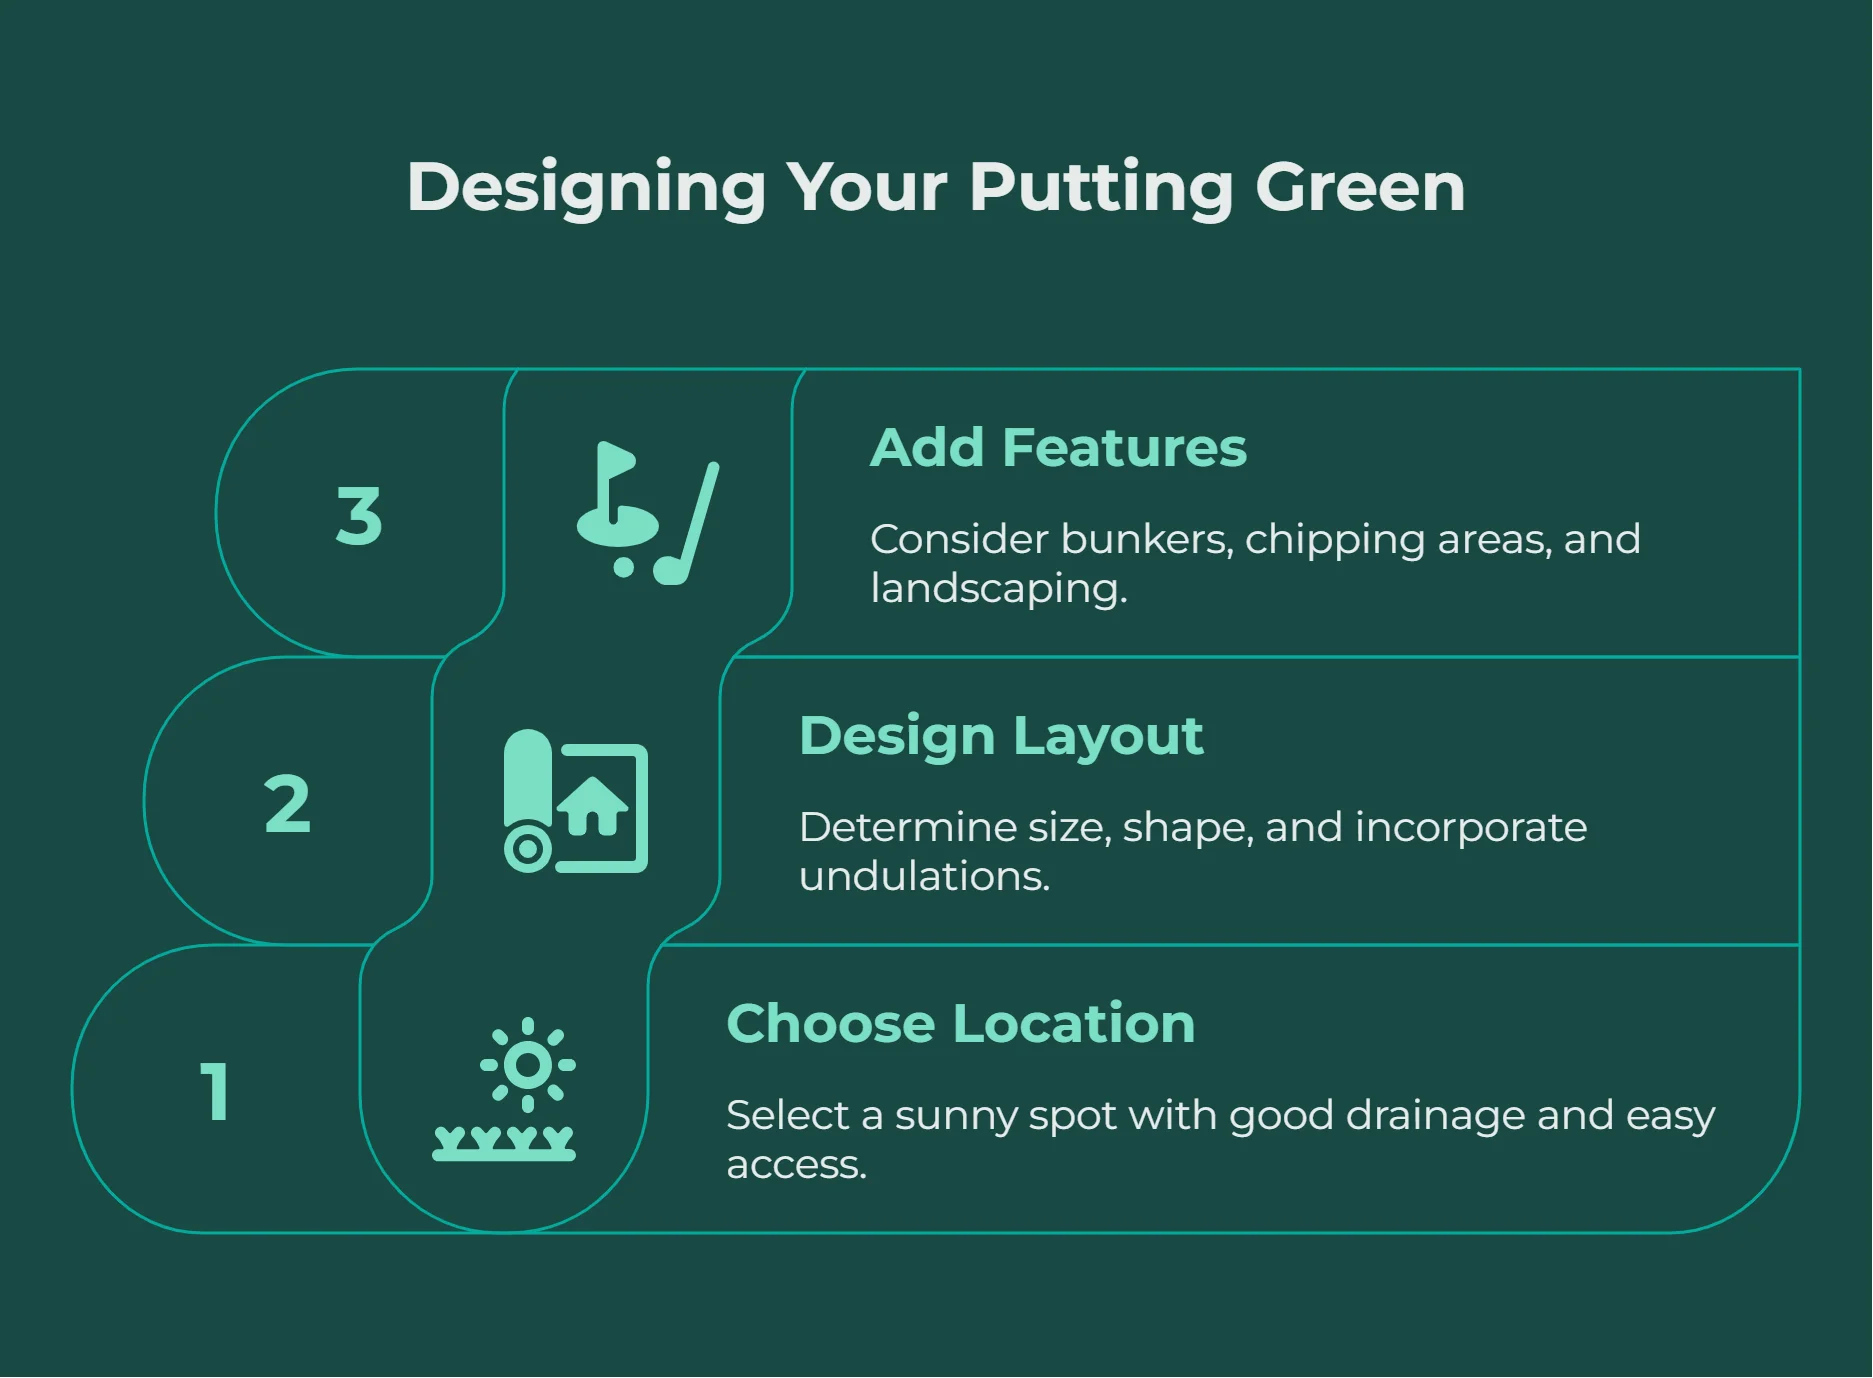
Start by picturing the finished look: a lush green patch just steps from your patio or nestled in a shady corner of your backyard. Choosing the right spot makes all the difference for your overall success, especially when working with existing landscaping, sunlight, and drainage. Look for relatively level ground near your house (for convenience), but don’t worry if the area isn’t perfectly flat—gentle slopes can add challenge and personality to your green.
When planning size, measure your space with both your putting goals and the rest of your yard in mind. A standard putting green kit will fit smaller yards, while DIYers can go as large or as creative as space allows. Single-hole designs offer simplicity, but a few cups distributed across the green keep things interesting. Inspiration? Try adding a break or undulating surface, or mimic your favorite golf course’s signature hole.
Choosing Artificial Turf or Natural Grass for a DIY Backyard Putting Green
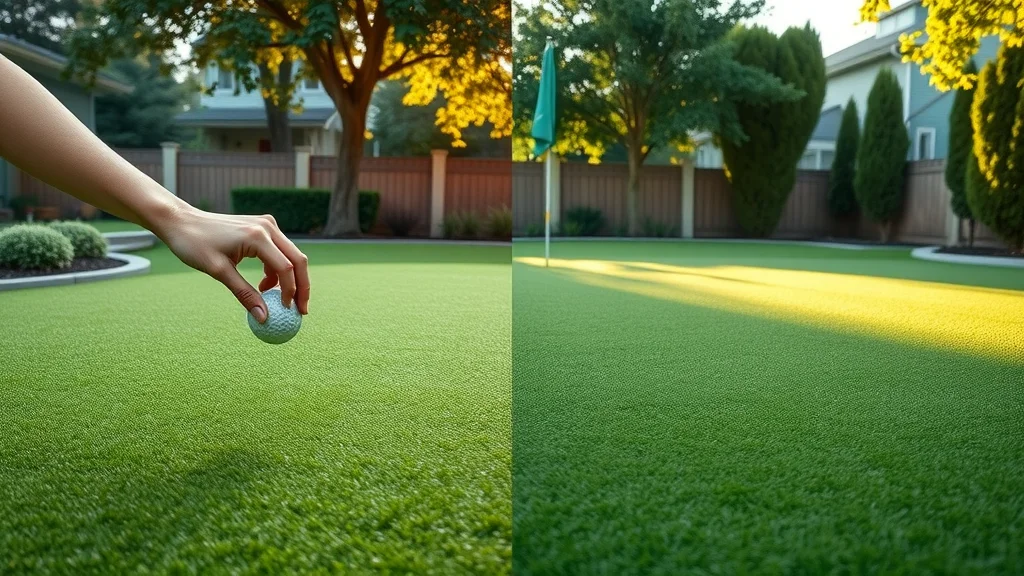
The biggest decision for most backyard putting green builders is whether to go with natural grass or artificial turf. Both options can look stunning and provide a quality putting surface, but there are real differences when it comes to installation, cost, long-term care, and playability.
Natural grass gives unbeatable authenticity underfoot—think classic grass green golf feel and that fresh-mown smell. But it requires serious commitment: watering, mowing, fertilizing, and (ideally) a dedicated irrigation system. Artificial turf, by contrast, delivers a low-maintenance, always-green surface that performs consistently in all weather and looks tidy year-round.
Artificial Turf vs. Natural Grass for DIY Backyard Putting Greens
Feature |
Artificial Turf |
Natural Grass |
|---|---|---|
Installation |
Fast, can use green kit; DIY-friendly |
Labor intensive (seeding/sodding); needs irrigation system |
Maintenance |
Minimal—brush, sweep, rinse occasionally |
Mowing, fertilizing, watering, pest control |
Playability |
Consistent roll, less affected by weather |
Traditional golf feel, can be slower after rain |
Lifespan |
10–15+ years (quality synthetic greens) |
Variable; depends on care and climate |
Cost |
Upfront cost for turf or green kit |
Lower up front, higher over time (maintenance) |
Step-by-Step Guide: Building a DIY Backyard Putting Green
Excavation and ground prep for a backyard putting green
Base installation and drainage solutions
Laying turf or seeding natural grass putting greens
Cutting, shaping, and installing cups for putting green kits
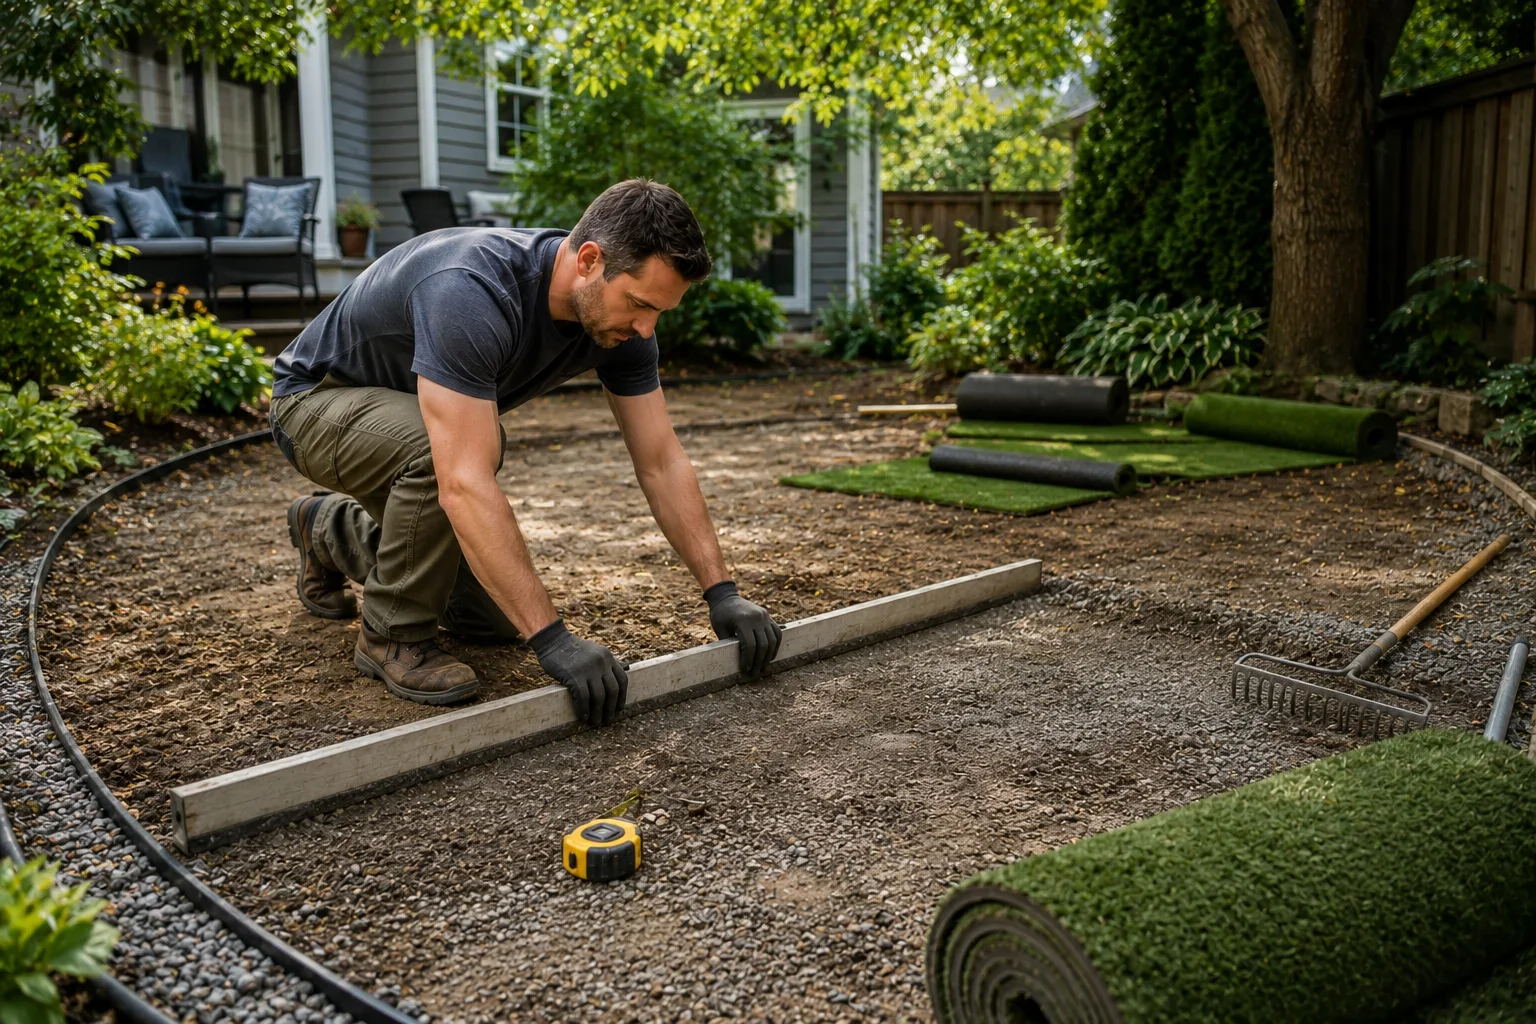
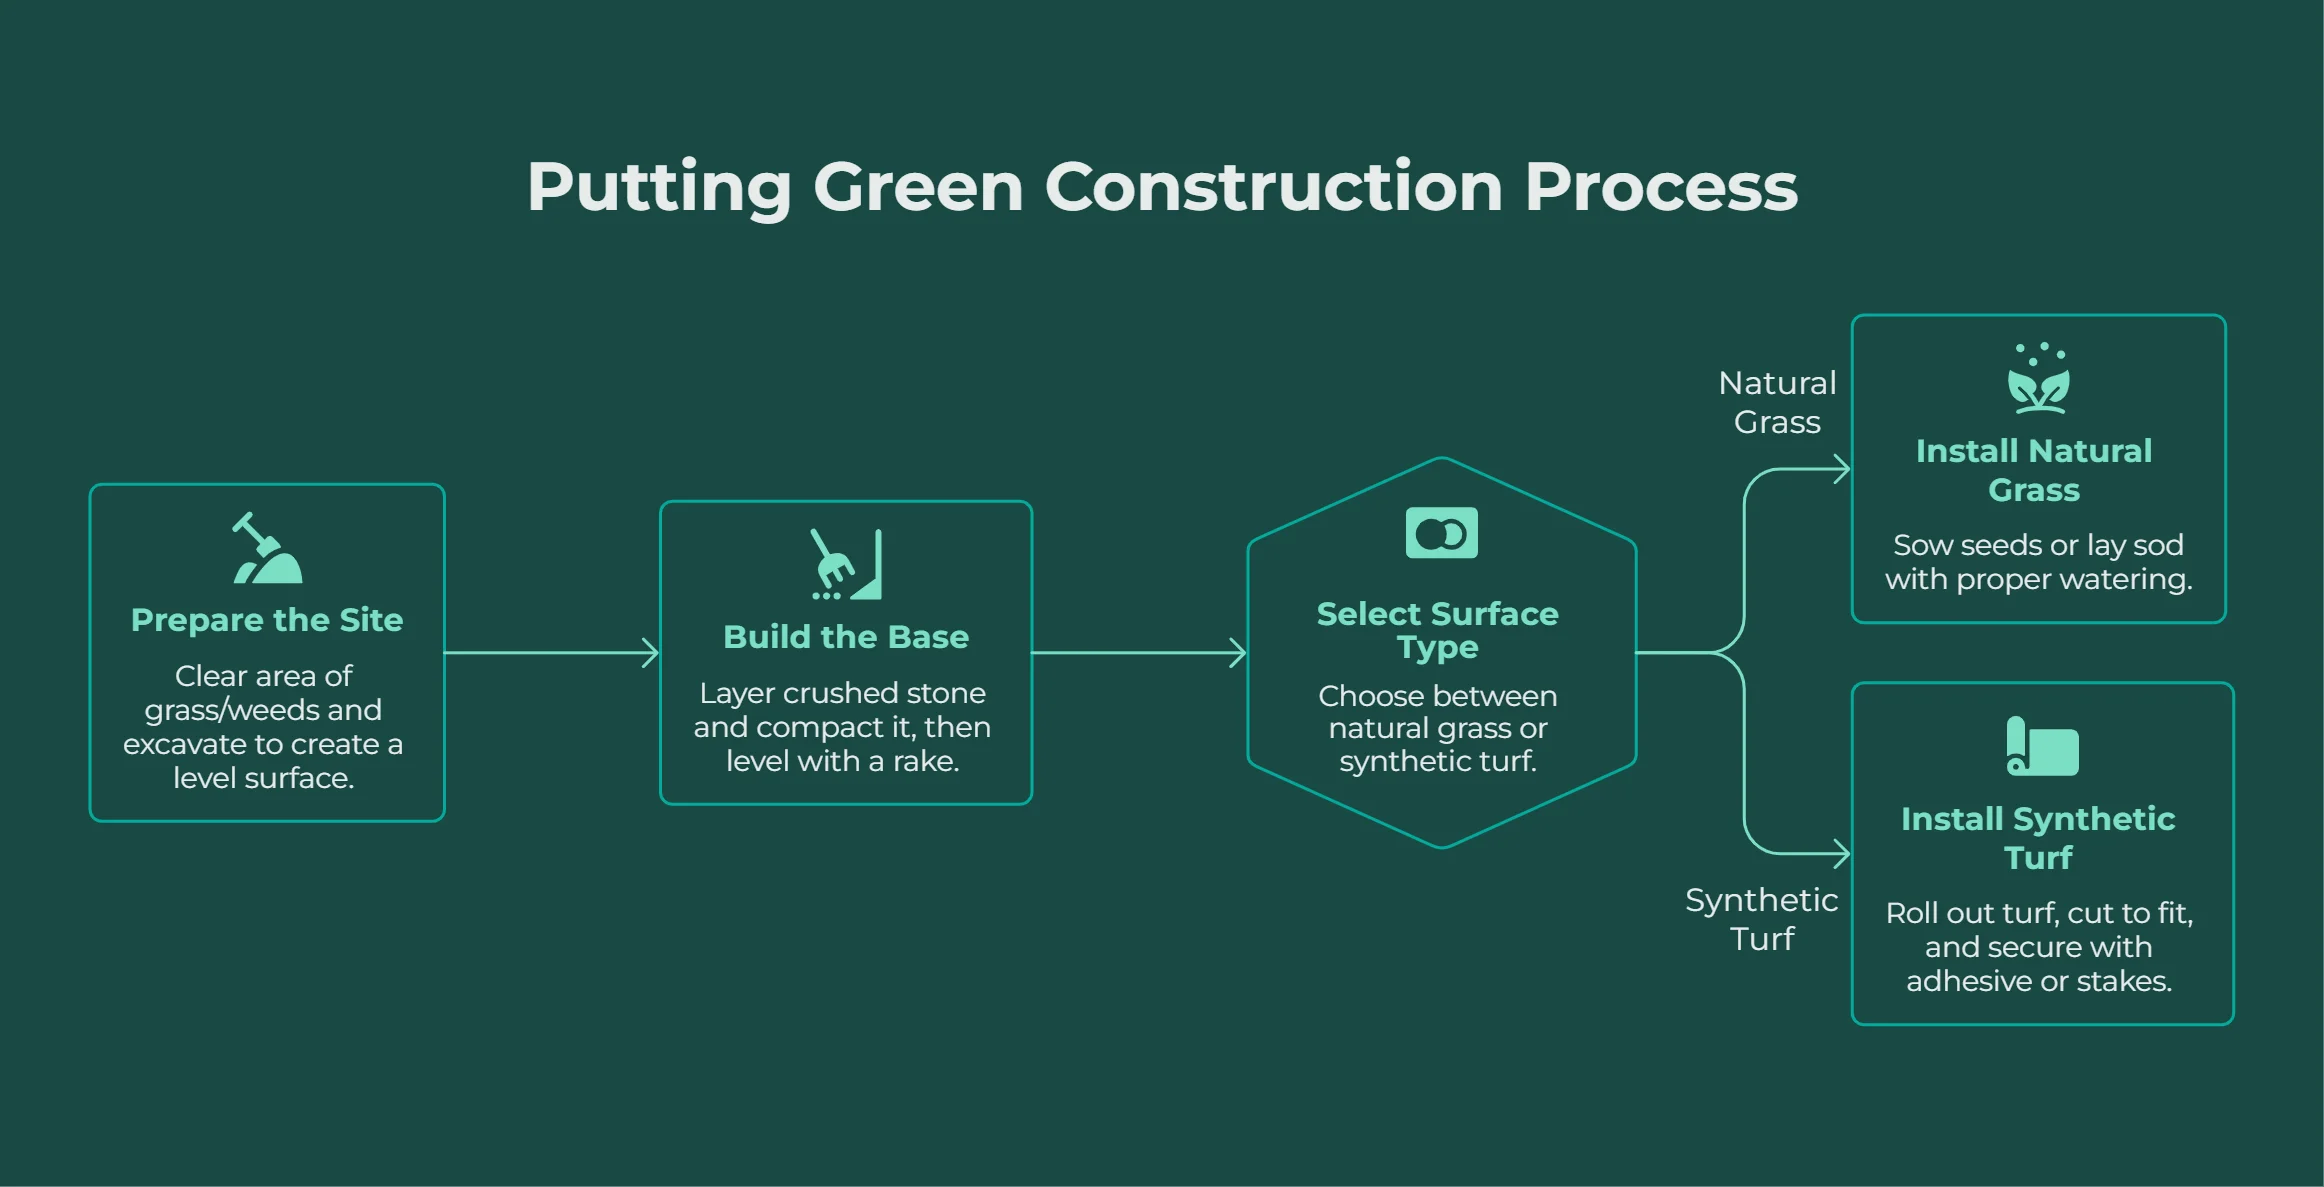
Here’s where your DIY adventure really begins! The steps below work whether you’re starting from scratch or adapting a putting green kit. First, mark out your chosen area with stakes and string. Remove any existing grass or debris to create a clean slate. You’ll want to excavate a few inches down (4–6 inches is typical) so your base, drainage, and final green surface sit flush with the yard.
Next comes the foundation for top-quality putting: lay down a compacted base of crushed stone or drainage gravel. This keeps the turf stable and allows water to flow freely—key for longevity and a true roll. Top the gravel with leveling sand and, if desired, landscape fabric to block weeds. If you’re using a green kit, follow kit instructions for placing pre-cut base panels or mats.
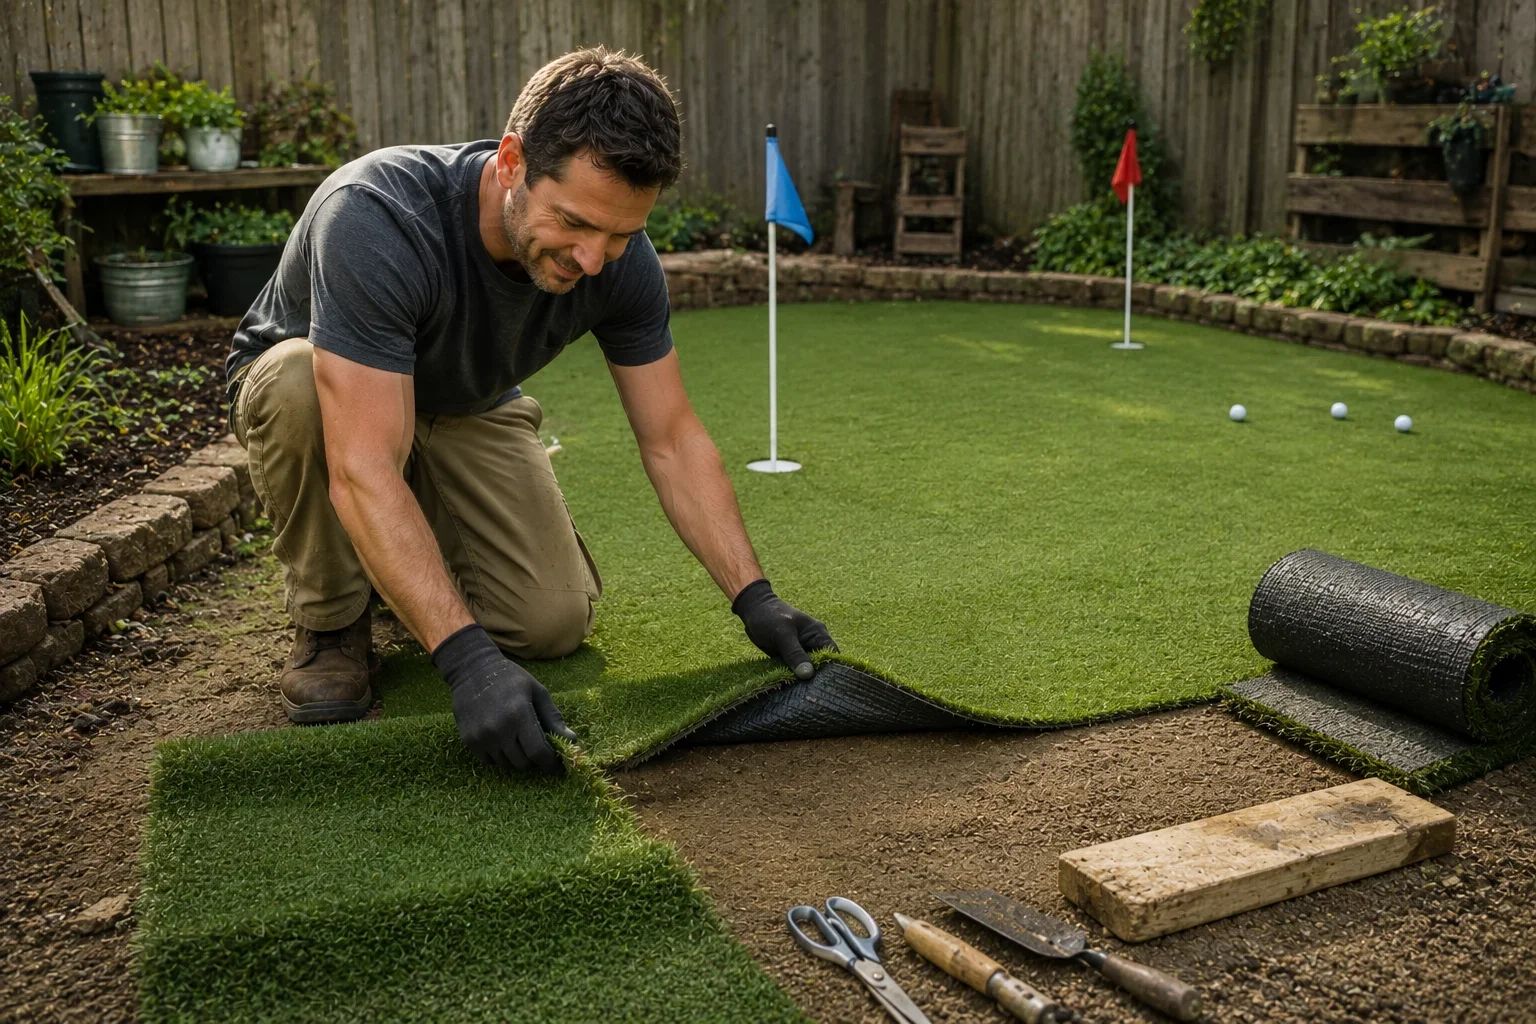
Roll out artificial turf, making sure the pile runs uniformly. For natural grass green builds, lay sod or seed the area, keeping it moist until established. Cut holes for cups, then drop in putting green kit elements, adjusting for level. Finish by brushing turf fibers upright or, for living greens, rolling and mowing for that pro look.
“Level base = better putts. Don’t skip on prep!” — Mark R., Landscape Pro
Adding Features: Upgrades, Edging & Custom Touches
Landscape edging and retaining walls
Unique obstacles, chipping areas, and creative layouts
Backdrop ideas to match your backyard putting green style
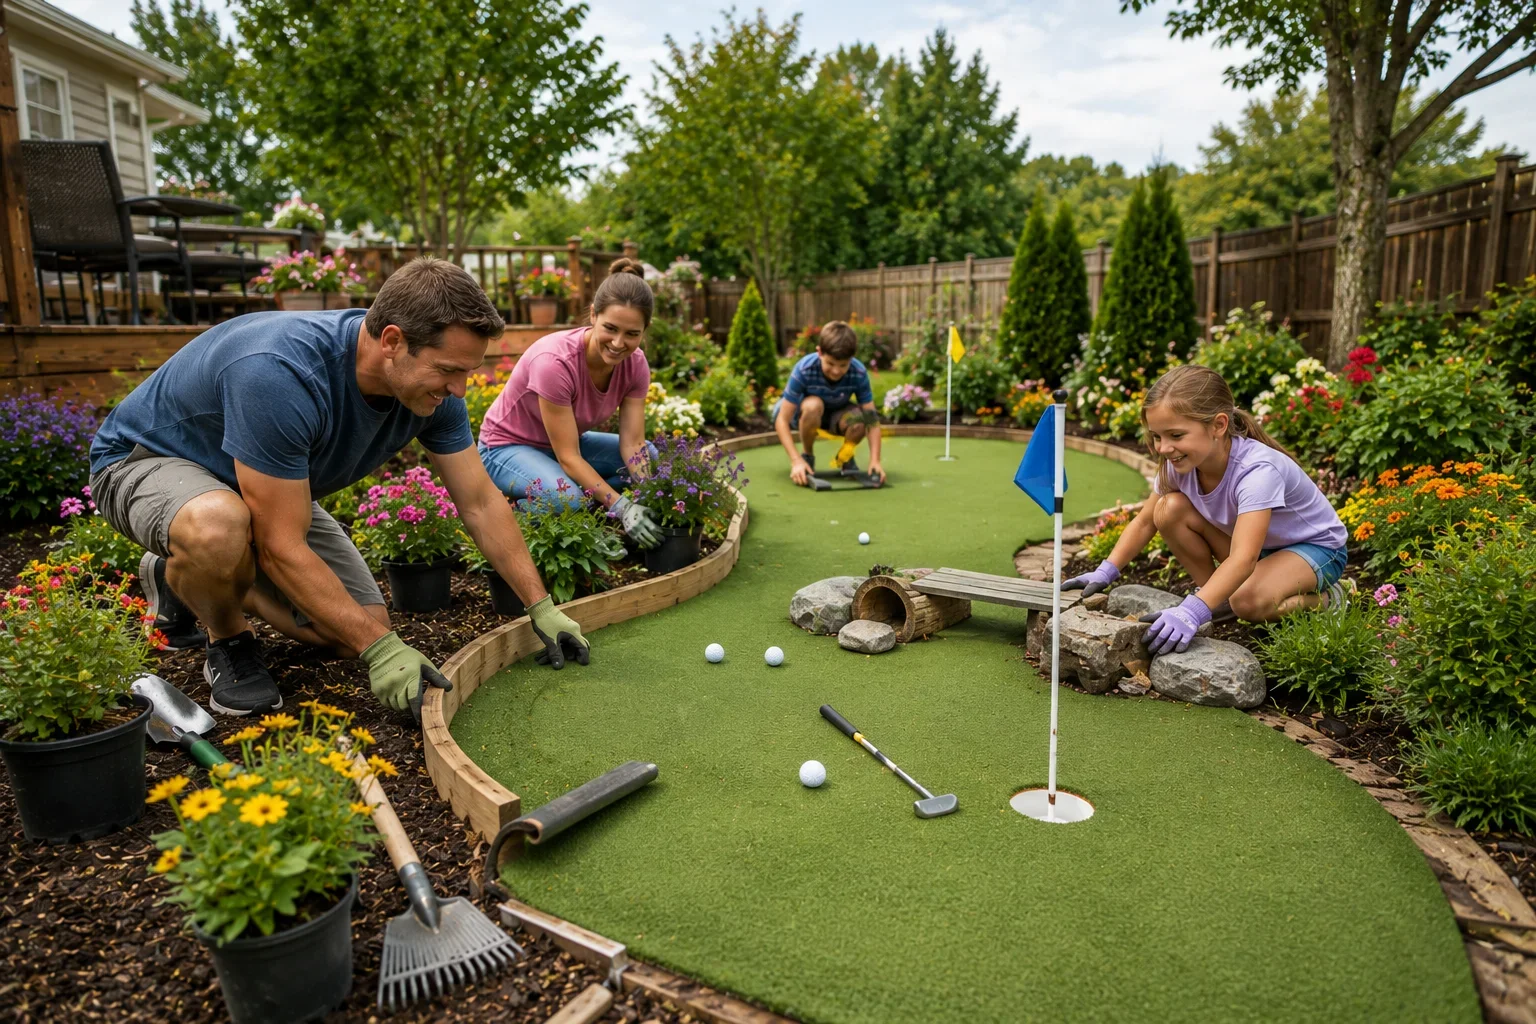
With the basics done, it’s time to add style: border your green with wood, stone, or brick edging for a polished finish. This not only looks sharp but keeps turf or grass in place. Want more fun? Create chipping mats, sand traps, or even quirky obstacles for a true backyard challenge. Try accenting with flowerbeds, shrubs, or garden art that fits your landscape style—think curb appeal and personal flair.
Consider including a bench, shade sail, or even solar pathway lights for after-dusk practice. Many green kits offer upgrade features or matching accessories if you want a themed look. Get the family involved—kids love designing tricky pin placements or re-arranging mini obstacles for a short game contest.
Care, Maintenance, and Troubleshooting for Your DIY Backyard Putting Green
Tips for keeping backyard putting greens looking sharp
Drainage fixes, seam repairs, and long-term care
DIY solutions for natural grass vs. artificial green kits
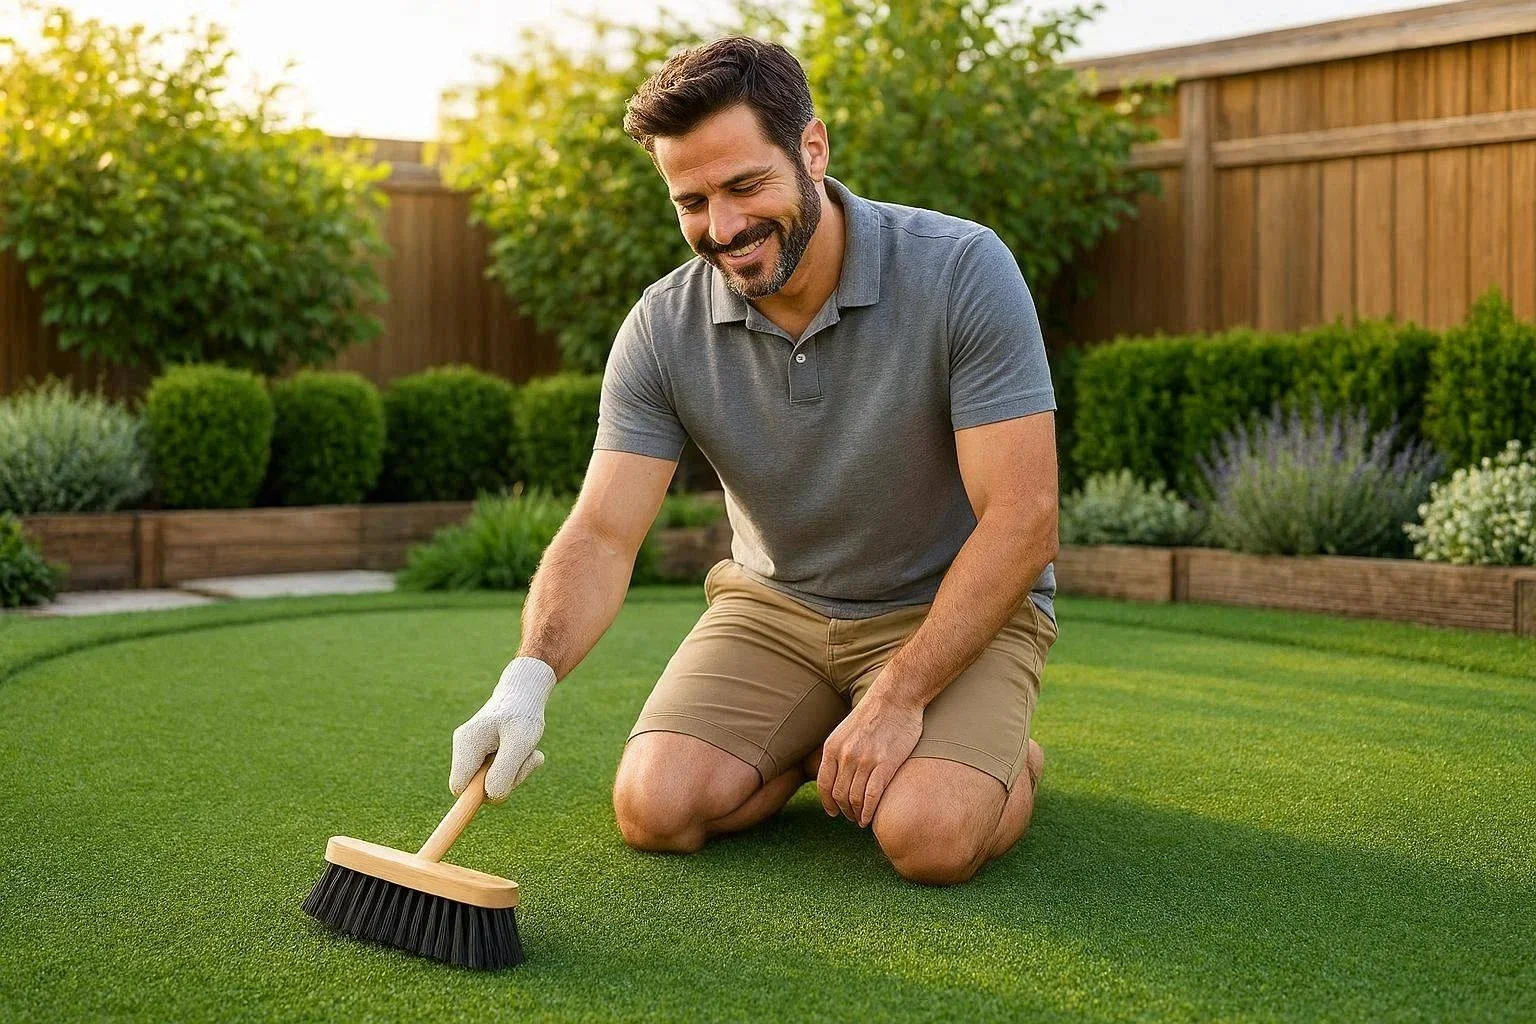
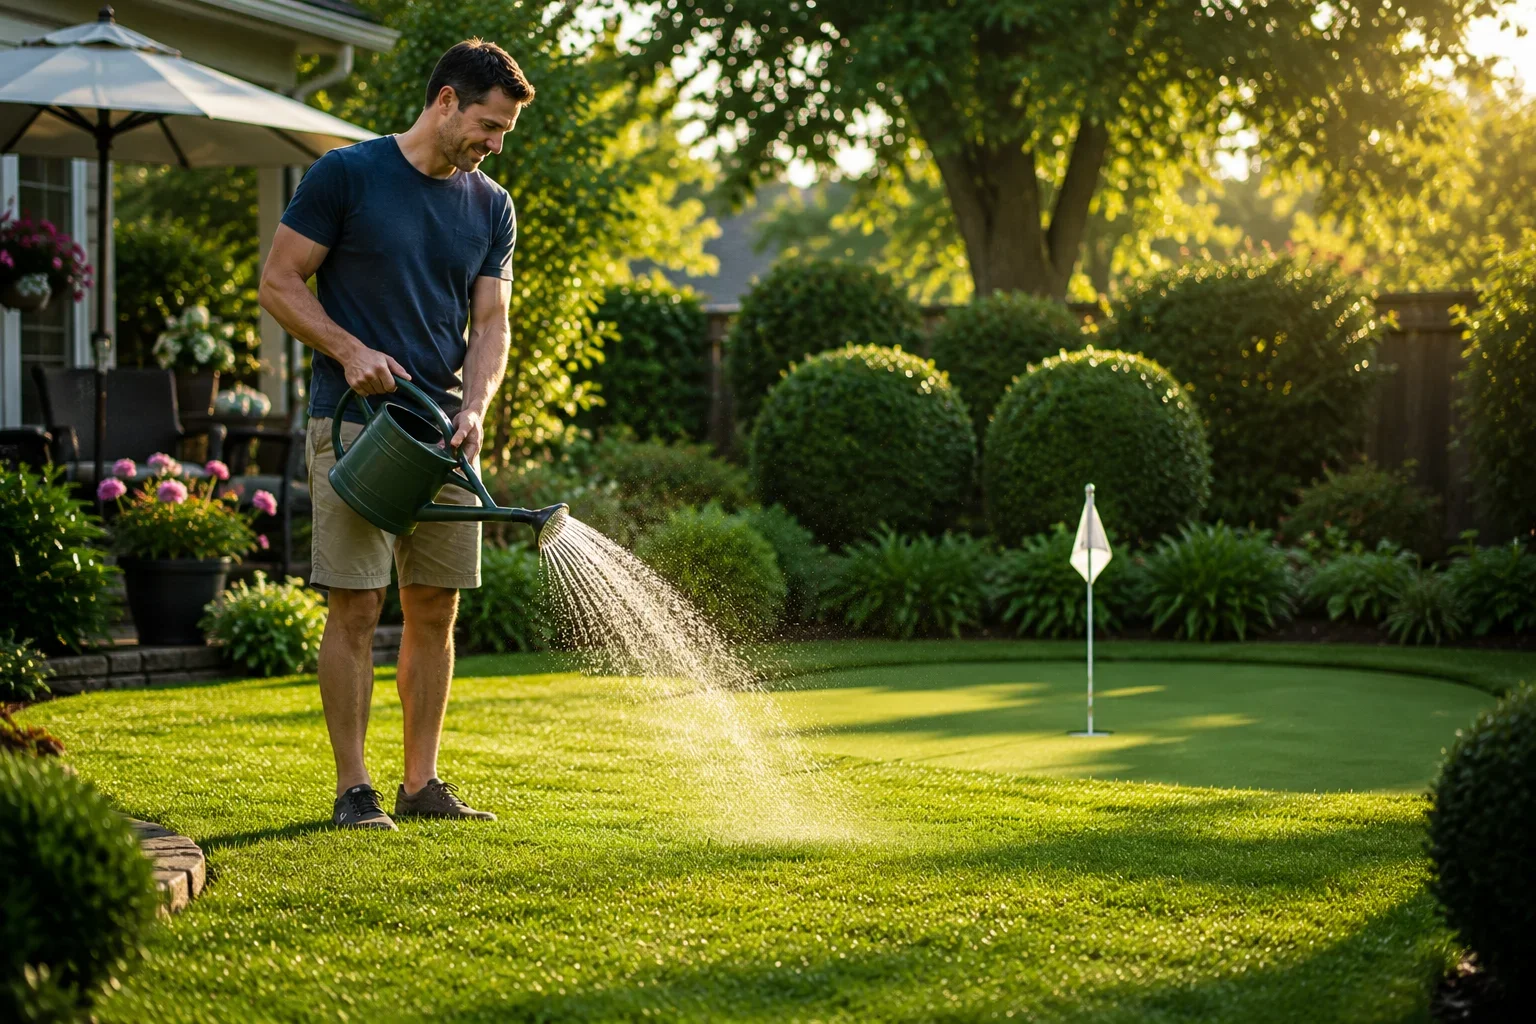
After all your hard work, you want your green to stay gorgeous. For artificial turf greens, occasionally sweep leaves or debris, brush turf fibers upright, and rinse down the surface as needed. Seam coming loose on your synthetic surface? Re-glue with outdoor adhesive and press firmly. If puddles appear, check the base—sometimes adding extra gravel in low spots fixes drainage issues fast.
For a natural grass green, routine care means mowing weekly (short and neat is best), watering deeply, and fertilizing a few times a year. Watch for weeds, pests, or browning, and treat early; aeration once or twice a year will keep roots healthy. Greens with proper irrigation systems and regular brushing/mowing will reward you with pro-level putting year after year.
DIY Backyard Putting Green Kits: Worth It or Go Full Custom?
Comparing putting green kit options
Pros, cons, and expert advice
When to opt for professional installation
So, is a putting green kit the right call? Green kits are hugely popular with first-time builders, offering pre-cut turf, cups, flags, and often base panels—taking a lot of the guesswork out of DIY. They’re efficient for small or awkward spaces and especially handy if you’d rather skip landscaping from scratch.
But full custom DIY means ultimate creative control: you choose the turf, shape every contour, and decide on every last detail. This can deliver a unique backyard putting green that’s both impressive and personalized.
The potential downside? DIY builds take more time, research, and effort than kit installs—and may need more tools.
Wondering when to call in the pros? If your yard has complex slopes, tricky drainage, or you want commercial-course perfection, professional installation may be worth it. Otherwise, green kits or a well-planned DIY build will suit most hobbyists.
“Do your homework before buying a kit. The best putting green kits use dense, real-feel turf and come with strong cups. Ask for sample pieces and compare before you commit!” — Lisa G., Retired Golf Superintendent
DIY Backyard Putting Green Questions
How to build a cheap putting green in your backyard?
Affordable materials and thrifty DIY tips for backyard putting greens
To keep things budget friendly, reuse what you already have: repurpose landscape timbers for edging, fill the base with leftover gravel from other projects, and grab a simple roll of affordable synthetic turf from a home improvement store. Skip fancy extras and focus on a solid, level base for a smooth, reliable putting surface.
Many DIYers have built 6-foot greens for under a few hundred dollars by hunting for sales on turf and upcycling found materials, proving you don’t need a pro budget for a functional backyard green.
How much does it cost to make a putting green in a backyard?
Typical DIY backyard putting green budget breakdown
Your final spend comes down to turf choice, green size, and whether you go with a kit or build from scratch. DIY projects typically range from $500 to $2,500 plus a few weekends of elbow grease. A basic green kit with artificial turf, cups, and minimal extras is often the most affordable option, while a custom synthetic green with multi-hole layout and pro borders will hit the higher end of DIY budgets. Don’t forget to factor in essential tools, especially if you need to buy rather than borrow.
Can I put a putting green in my backyard?
Zoning, suitability and backyard requirements for a diy backyard putting green
Almost every yard has potential for a backyard putting green. Flat, well-draining spaces work best, but rolling or irregular lawns can be shaped to add challenge. Check with your neighborhood HOA or city for any restrictions on outdoor landscaping or water use (especially for natural grass). Even the smallest yard can fit a fun practice patch with creative design—some green kits are engineered especially for tight spaces!
How do I get my yard to look like a putting green?
Tips for transforming your lawn into a green-worthy surface
Achieving the manicured look of a professional green means leveling, aerating the soil, then seeding or sodding with fine-blade, grass green blends such as bentgrass or fescue. Mow regularly with the highest-quality sharp blade you have, water deeply (with an irrigation system if possible), and fertilize to keep things healthy. Dethatch or aerate your yard every spring for lush growth, then cut cup holes and drop in putting cups for that true private-golf-club vibe.
FAQs: Mastering the DIY Backyard Putting Green Experience
What is the best artificial turf for backyard putting greens?
The best turf for most DIYers is a dense, low-pile synthetic turf designed specifically for putting. Look for UV-stabilized, tightly woven products (like those in higher-end green kits) for smooth roll and weather resilience.How long does a diy backyard putting green last?
Quality synthetic greens often last 10–15 years or more with routine maintenance. Natural grass greens require more ongoing care and may need partial resodding depending on weather and usage.Do putting green kits come with everything I need?
Most top-rated putting green kits come with pre-cut turf, base panels, cups, and flags—sometimes even infill sand and brushes. You’ll usually still need basic landscaping tools for site prep.
Expert Tips & Key Takeaways for Your DIY Backyard Putting Green Project
Level up with these top diy backyard putting green strategies
Always spend extra time getting your base level—it’s the secret to a true-rolling, pro feel green. Check your turf or grass direction before final install, and don’t forget drainage (standing water can ruin even the best synthetic greens). Learn from others: read user reviews of green kits, ask for sample turf if ordering online, and test cup locations before final cutting. And remember—DIY is as much about fun, trial, and error as about getting it “perfect. ”
Ready for More Backyard Inspiration?
Dive deeper into backyard living here: theBackyardPal.com
If you’re inspired to take your backyard transformation even further, consider exploring how a lush pocket forest can add privacy, beauty, and even fresh food to your outdoor space. Discover the benefits and step-by-step approach to creating your own DIY backyard pocket forest—a sustainable upgrade that pairs perfectly with your new putting green.
Whether you’re seeking tranquility, a natural screen from neighbors, or a mini-ecosystem for your family, this next-level project can turn your yard into a true sanctuary. Dive in and see how combining recreation with nature can elevate your backyard lifestyle.
Conclusion:
If you’ve made it this far, you’re more than ready to build a putting green that actually earns its keep — saving thousands while giving you unlimited practice. With a clear plan, a few essential tools, and a DIY mindset, you can create a green that fits your space and your game. No more waiting for tee times or paying for range buckets when the perfect lie is right outside your door.
You’ll sharpen your short game, add value to your home, and enjoy a backyard that’s built for memories. Don’t overthink it — take the first step, and let your DIY green become your personal golf haven all year long. Grab your materials and get started today.


Write A Comment